Modularized - User Guide
Each CMS has his own behavior. However, working with a theme doesn't mean you do not need to know the essentials about building a website, web design, creating pages, using images, videos, and so on.
Version 2, Updated 09/18/2023 - Get it now at the HubSpot Marketplace
Modularized Theme
Our Modularized V2 Theme includes customizable and a responsive template, together with different types of Modules, Landing Pages, Error pages, Thank you pages, Blogs, and much more.
BEST PRACTICE
General advice
Before you start using the theme and creating pages, we strongly advise you to clone your theme in the HubSpot design manager and use the cloned version!
By doing this you will be able to update, create, and add extra features to the theme in the future.
If you do not start with a copy, and if you get stuck at some point, you may need to redo actions you have taken previously.
Theme includes
One (1) Subscription Confirmation Pages
- Subscription Confirmation (Email subscription confirmation)
One (1) subscription-preferences
- Subscription-preferences (Email subscription preferance)
One (1) search results template
- Search Results
One (1) password prompt template
- Password Prompt
One (1) backup unsubscribe template
- Backup unsubscribe template
One (1) membership-reset-password
- Membership-reset-password (Miss match with design)
One (1) membership-reset-password-request
- Membership-reset-password-request (Reset your password)
One (1) membership-Register
- membership-Register
One (1) membership-Login
- membership-Login
Two (2) error page templates
- 404
- 500
Pages
- Home
- About Us
- Contact Us
- Service page
- Image Gallery page
- Video Gallery page
- Landing pages
- Pricing Card page
Introduction
Once you have successfully purchased the Modularized theme from the HubSpot marketplace, you will arrive at a confirmation screen, and after a few minutes (it can take up to 5 minutes for the theme installation to be completed), you should be able to find your new theme on the Design Tools.
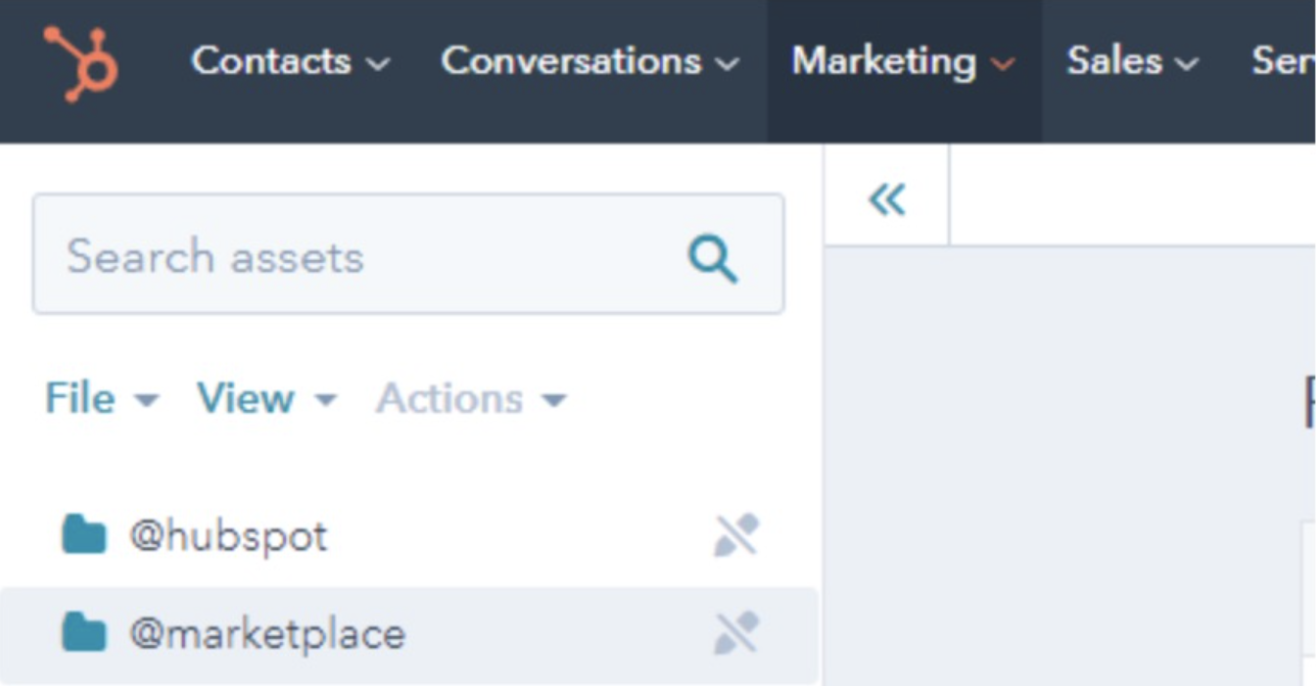
You can confirm this by going to Marketing > Files and Templates > Design Tools. Once here, you should see something like this:
Reinstall Theme
In rare cases, due to a common bug on the HubSpot marketplace, your theme may not arrive successfully to your account.
If this happens to you, don't worry, go to Asset Marketplace > Purchased, and then select 'Modularized' theme, click 'Actions', and then 'Uninstall'.
It will take a few minutes, after that, you will need to click 'Actions' again, and then 'Reinstall'.
This will fix any issues that could have occurred. While this is a very unusual issue, in case it happens to you, the solution is simple and easy.
Clone Theme
Once your new HubSpot theme is ready, it’s time to clone it. This is not a required step, however, we strongly suggest cloning the Modularized-2.0 Theme before starting to use it. By cloning the theme, you will always have a clean backup in case you want to revert back to the original version after making modifications.
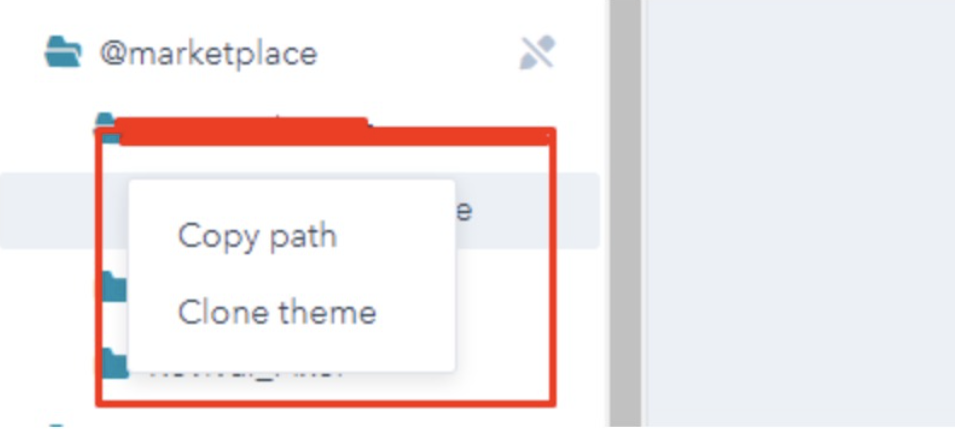
In order to clone the theme, go to 'Marketing Files' and 'Templates Design Tools', and then select the 'Modularized' theme folder from the @marketplace folder. Once there, right-click, and then click 'Clone theme'. (See screenshot below)
Theme Customization
Once your cloned Modularized-V2 Theme is ready, it’s time to start customizing the theme as you like.
In order to do this, go to 'Marketing Website' > 'Website Pages', and click 'Create Website page'. This will show you the 'Choose a theme' screen, choose your 'Modularized-V2 Theme backup', and select the page you want to get started with (for example Homepage).
You can edit the Homepage (or any other page), it will look something like this:
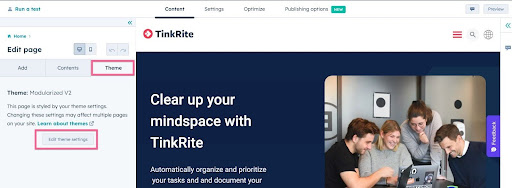
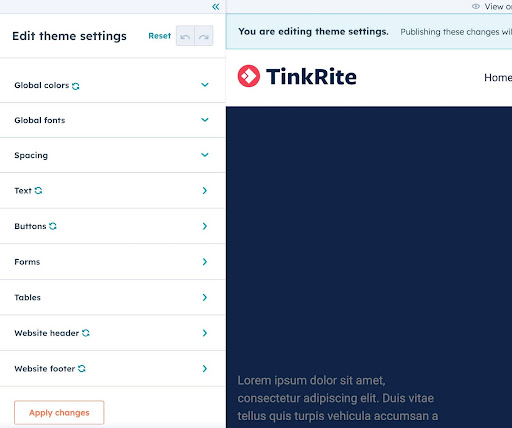
Before you start editing the Homepage01 itself, let’s start with the customization. Click 'Design' > 'Edit theme settings', and you will be redirected to the 'Theme settings' screen, which looks like this:
Colors
If you click 'Global Colors' in the customization screen, you will be redirected to another screen just like this:

You can easily change the primary and secondary color by selecting the corresponding color. Or you can give the corresponding hex value of the color.
Font
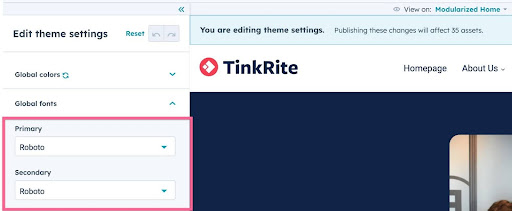
Same as the color, you can change the global font directly from here. You will notice that you can easily choose between 100s of Font families, and this is because HubSpot theme is integrated natively with Google Fonts, so you can use any Google font without any extra work. Just choose your preferred font, click Apply changes, and you are on the other side.
Typography
Let’s change the typography now. Like with the colors and font you just need to click 'Edit' on the 'Typography' option, and you will arrive at this screen:
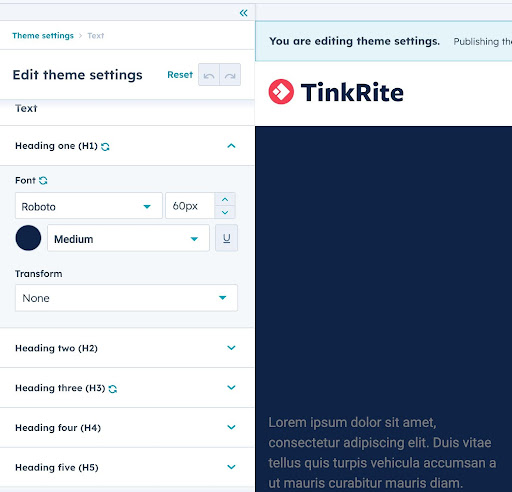
Once you arrive here, you will notice the typography is customized in detail by Heading type. You can adjust the heading one (h1), heading two(h2), etc font-size from here. This is to give you as much control as possible of the typography sizes, so your website is as consistent and scalable as possible.
Buttons
Once you are done with updating the typography, let’s change your theme buttons. Click 'Edit' on the 'Buttons' tab, and you will arrive at this screen:
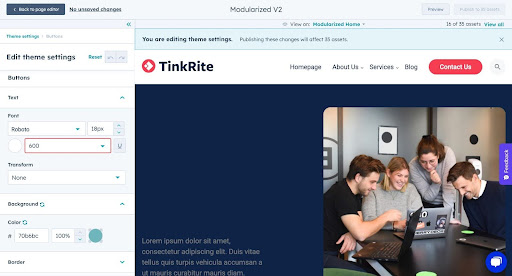
Here you will notice that the button has a lot of customization options such as corner radius, background color, border-width, border-color. You can easily control each of the properties, and customize them as much as you want to fit your brand style guide.
Once you are done with the buttons, you will finish customizing all the basics of the Modularized theme. However, there are more customization options such as forms, tables, spaces, and more, and you can customize each of them as you want.
Header
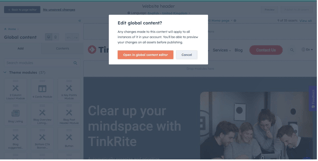
The header is one of the most important parts of the website. If you go to edit the Homepage or any other Website page, you will see the option to edit the Global Header section, or by simply clicking on the header it will show a global content editor popup as you can see below:
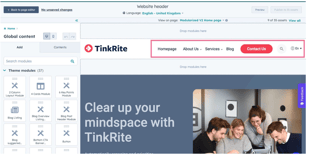
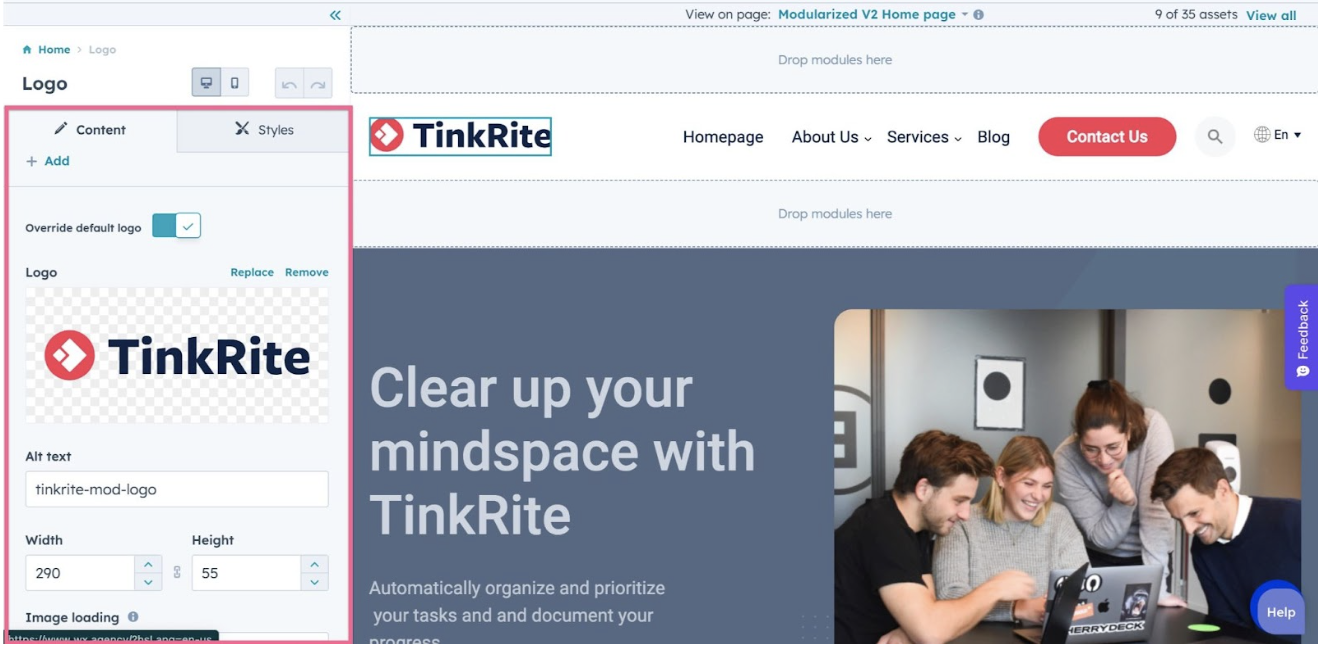
Logo
In the 'Global header' section, you will be able to click the logo, and then you will see the sidebar options to edit it, as you can see below:
Menu Links
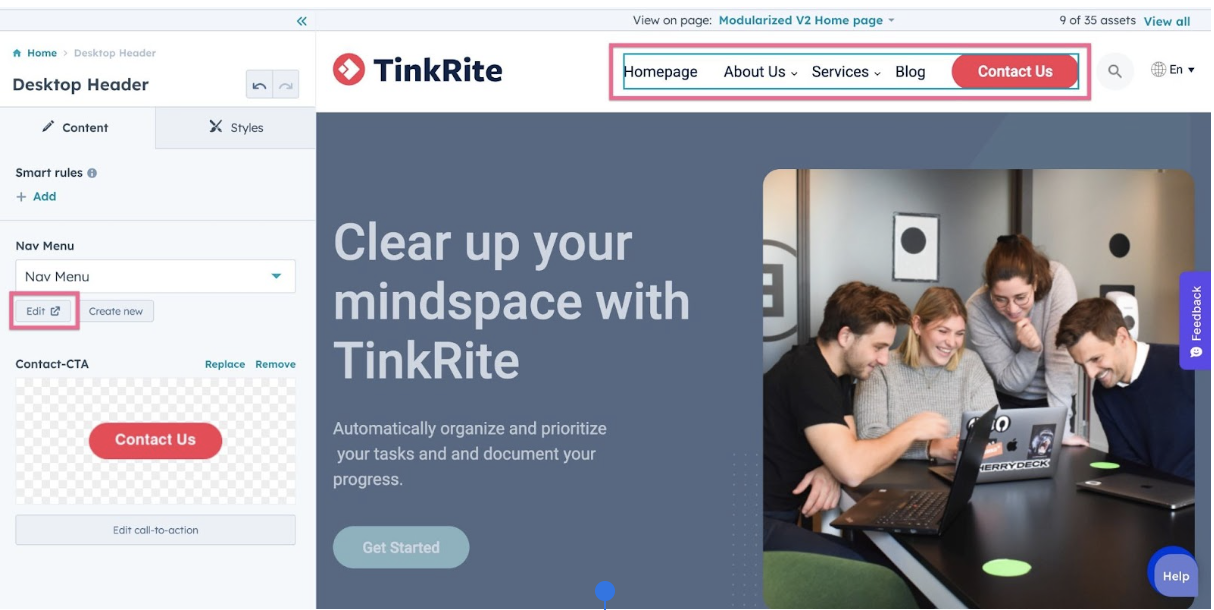
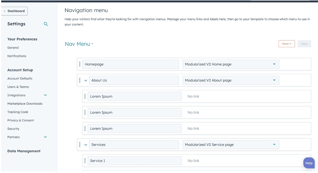
Once you finish with the logo, let’s continue with the menu links. All the menu links are managed on the 'Navigation' section within the 'Website settings' on HubSpot, so it’s very likely you are already familiar with how to edit them.
Otherwise, don’t worry. Simply go to 'Settings > Website > Navigation'. The screen will look something like this:
Search Bar
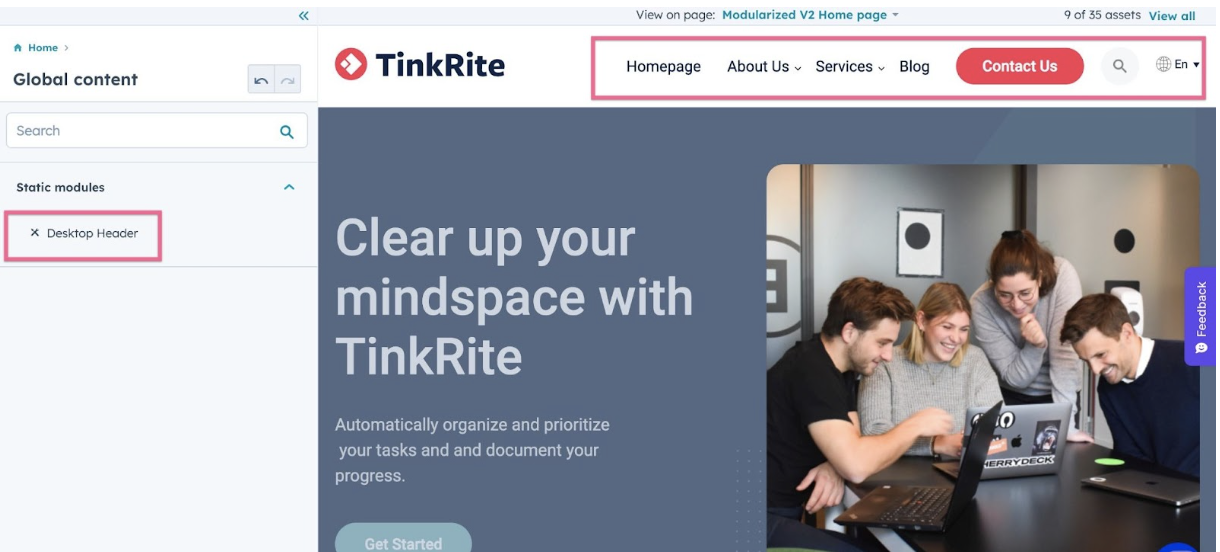
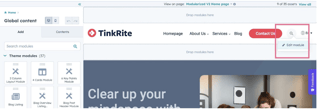
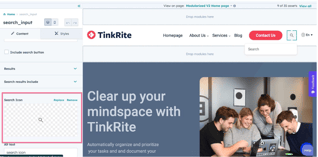
In the header section, we have a search bar. If you don’t need the search bar there is an option to hide it. Please check the below images for reference.
Alternatively you can go to Settings > Website > Navigation. The screen will look something like this:
Footer
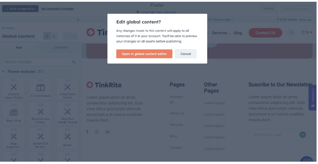
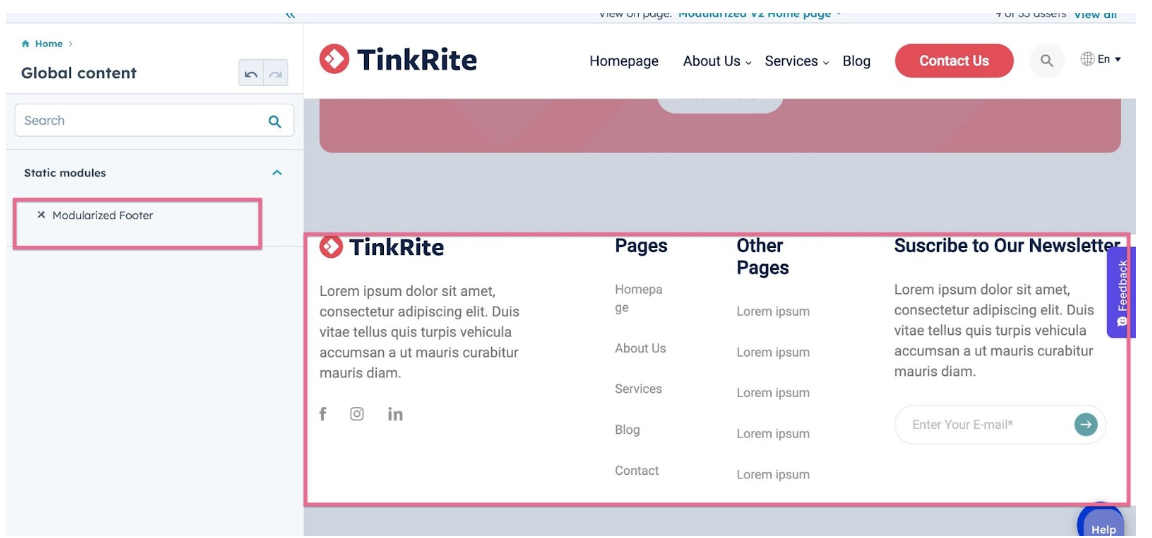
Editing the footer is pretty much the same process as the Header. In order to edit the 'Global Footer' section, you just need to edit any Website page, scroll to the bottom, and you will find the footer.
Click 'Edit Module', and you will be redirected to the screen to start editing the footer:
Logo
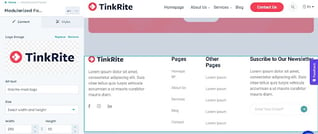
Once you are in the Footer editor, click the Footer logo, and you will be able to edit it and upload your company logo.
Just like on the header, we recommend you to upload the logo as SVG format (Scalable Vector Graphics) as it will be super light and look perfectly sharp on every device. However, if you don’t have a vector version of your logo, a PNG or JPG will work great too.
Footer Links
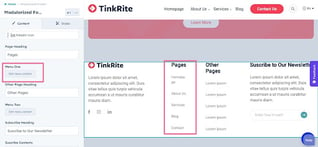
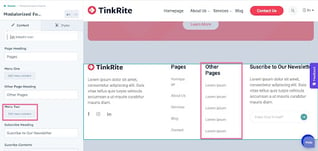
Regarding the Footer Links, you will notice these are slightly different from the ones in the Header. Each section has different menus. By clicking on the corresponding menu you can change the link and text which is the same as in the header menu. See the screenshots below for footer menu examples:
Home page
We have already discussed how to set up the header and footer of a website page. The next part is the inner sections (which means the sections between the header and footer) of the pages. Let’s start with the home page banner section, by clicking on each section you can see the 'Edit' option on the right side, same as the header and footer.
Hero Banner Module
On the left side of the edit page there are two different options. The first one is the 'Content' edit section, and the second one is 'Styles', for styling the module section. You can update the content in 'Content' section (please note there are required options for some fields). In the 'Style' section we have added the options for changing the various styling options such as:
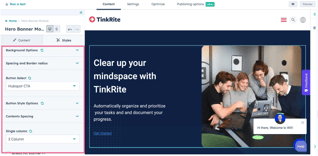
- Background Options.
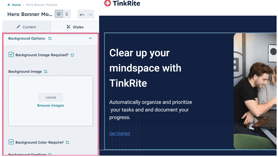
- Spacing and Border Radius
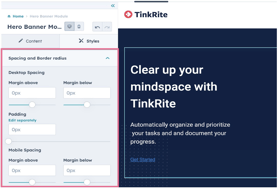
- Choosing CTA buttons ( Hubspot CTA & Custom CTA )
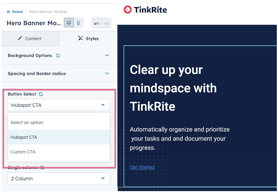
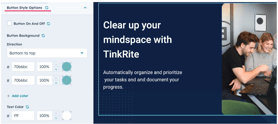
- Button style options
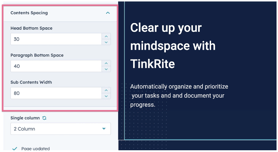
- Content spacing options
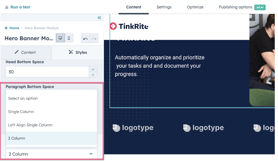
- Content Alignment Options (we can set the module with only contents or image with content)
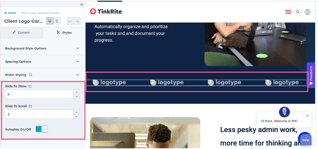
Client Logo Carousel Module
This is the logo-slider section. You can add multiple logos to this section and customise the number of slides to show, add slide to scroll, and turn the slider autoplay on or off.
Two Column Layout Module
This is a swappable section where you can simply change the positions of the image and content to the left or right. By selecting the 'Image position' option on the right side you can replace the image and change the content.
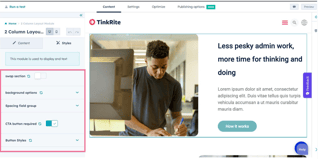
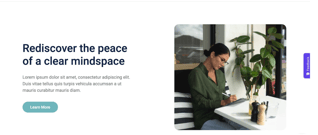
This is the swapped style of the above module.
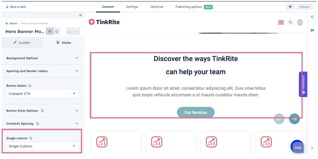
Hero Banner Module
The 'Hero Banner' module is reused here without an image, and contents are center aligned.
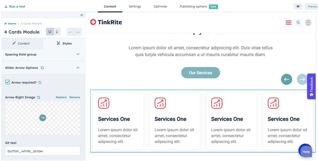
Four Cards Module
This is a slider-card module. On the right side, above the images, you can see the edit options. There is an option to add multiple box content. You can add different contents to each box. There is an 'Edit' option in each box and clicking it will take you to the content section where you can add/remove/edit content as you need. We have styled it identically with the other slider module, and added an arrow option to the slider for a better ease of use.
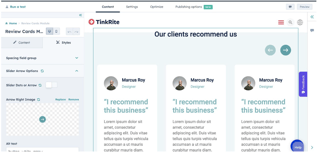
Review Cards Module
This module is a slider module. In this module we can select either arrows or dots.
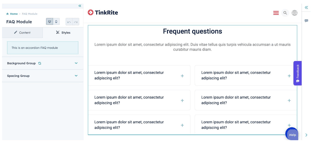
FAQ Module
This is the FAQ module. Here we have an option to add multiple box content. You can add different contents to each box.
Blog Module
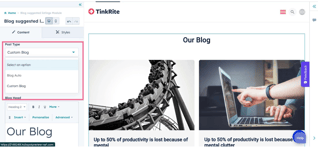
This is the blog module. You can select two type of blogs from the dropdown box: 'Blog Auto' and 'Custom Blog'. The 'Blog Auto' option displays the blogs from the blog page and it cannot be edited from here.
When choosing the 'Custom Blog' you can custom create a blog.
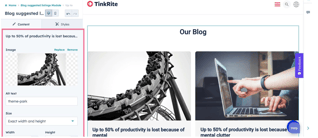
Here you can edit the blog image, content and navigation URL.
Bottom CTA Banner Module
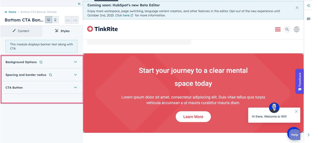
Here we can change background, spacing and the button style.
Hero Form Module
This is a swappable section where you can simply change the positions of the content and form to the left or right. Here you can change the content and edit the form field. You can also customize the form.
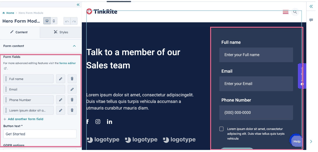
You can edit form content here.
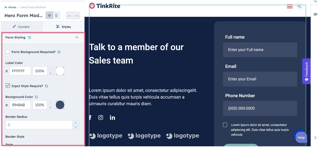
Here you can customize the form style.
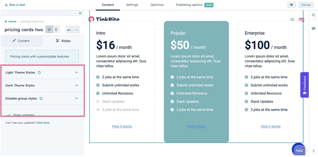
Pricing Card
This is a Pricing card module, which is used for displaying the different features of a service. Here you can customize the theme of card to either 'Light theme' or 'Dark theme'. You are also able to change the font color, bullet image, and button styles.
Blog
Let's learn how to set up the 'Blog' and 'Blog Post; template from the Modularized theme on your website.
Choose Blog & Blog Post Template
To choose the 'Blog' or 'Blog Post' template, go to Settings > Website > Blog > Templates, and you will find 2 different drop down selectors.
One will choose the template for blog posts, and the other one will choose the template for listing pages (the blog). Select the one you would like to use (as you probably remember, we have 2 different versions for each), and click 'Save'.
-1.png?width=512&name=unnamed%20(3)-1.png)
Change Blog Pages Copy
Unlike landing pages or normal website pages from the Modularized theme, the Blog page is a hard coded template, as it’s not possible yet in HubSpot to make blog templates editable with the friendly HubSpot interface (when that happens, we will ensure to update ours the right way).
Considering this, we will explain how to change the text/copy in the 'Blog index1' and 'Blog index2' pages:
1. Go to Marketing > Files and Templates > Design Tools
2. In the 'File Manager', locate the Modularized theme, open the folder, then open 'Templates', and finally locate ‘Blog index1.html', or 'Blog index2'.
-1.png?width=512&name=unnamed%20(4)-1.png)
3. Open the file, and you will arrive at an HTML code template. This may look a little tricky, but it’s not, don't worry.
4. Use the ‘Search’ function of your browser to locate the text you want to change, and type your new text. Once you are ready, click 'Save'.
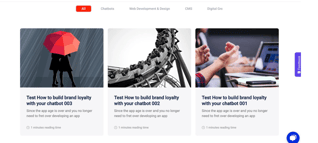
Below is the blog listing page. Here you can see the category list in a tab on the top of the page. It works on the basis of the category tag we add while we creating the blog.
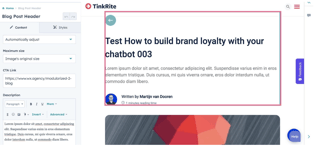
Below is a blog single page. On the top of the page we created a module used as blog’s header, you can change the contents here.
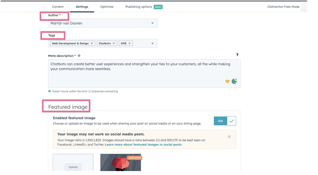
Go to 'Settings' and change the blog title, author, tags (blog category), meta description, and featured images.
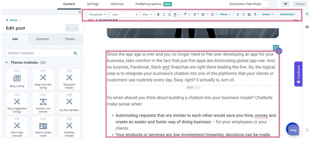
You can change or edit the contents here.
Support
And that’s all for now! However, it doesn’t end here. If you have any issues, bugs, or just need some help, feel free to send us an email at developer@wx.agency. Our team will be happy to help you.
